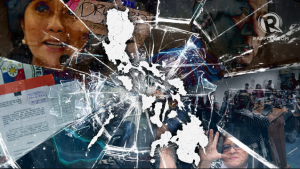
It was a time of great awakening. It was a season of dying for a desperate regime. It was a moment of great hope for an indignant people. It was a point of no return for an isolated ruler. It was the flowering of the people’s movement. It was the winter of desolation for a tottering, puppet regime facing its last days.
The lawyer in a time of upheaval is a marcher for freedom, a toiler for the future that the masses are creating with their own hands.
Friends, brethren in the profession, colleagues in the struggle: I am one with you in spirit, even as we push stronger here in my country for the ultimate showdown with the corrupt, thieving, and avaricious Estrada government. It is the ultimate showdown, because the Estrada administration is on the brink of final collapse and the people’s movement is at the height of its resolve and great unity to oust the Estrada government. The lawyers are in the midst of all these. And I hope you understand and know of my great desire to be there, and of the great need to be here with our people, in a time of momentous change.
It is the first time that a Philippine president has been impeached or accused by the legislature, and now facing trial. For the first time, too, people’s lawyers are among the lead lawyers of the private prosecutors involved in the impeachment trial. Even as we turn nights into days, and days into moments, preparing for the impeachment trial, we have also been able to organize, outside of Congress, the broadest tactical formation of lawyers demanding for Estrada’s resignation and a new government that would truly represent the people’s interests.
 This broad lawyers’ formation had linked up with the vast people’s movement calling for the removal of the regime. It is the fastest growing lawyers’ organization, composed of trial lawyers, corporate lawyers, government lawyers, labor lawyers, progressive lawyers, judges, professors and deans of law schools and law students, calling for Estrada’s resignation, expanding now to hundreds of lawyers.
We call it the Organization of United Solicitors for Truth and Estrada’s Resignation, or OUSTER. The OUSTER lawyers went beyond filing of cases, lobbying in Congress, and signing petitions. We marched in the streets, closed ranks with the masses and other patriotic forces, stood by into the night ready to defend them against arrests and detention, raised our clenched fists and shouted at the hated regime.
Allow me to discuss for the moment the massive movement of marches and protests going on in my country right at this very time, because, first: it is a source of valuable lessons for those interested in studying the impending downfall of a fascist regime through the exercise of the people’s collective actions; and second, uniquely, in this particular struggle, people’s lawyers are crucially involved in the massive movement to remove Estrada, inside and outside of Congress.
Given our political system, it will be the height of naivete to believe that the impeachment process per se can be an effective remedy or option of the Filipino people to oust or remove a President from office no matter how serious the crimes he has committed or how unfit he has become to govern the nation. I said per se because this mode of removing or ousting an incumbent President will be effective only if it is supported by strong and sustained mass actions such as protest rallies and marches, nation-wide workers’ strikes, pickets, walk-outs, boycotts, transport strikes, welgang bayan (people’s strikes) and civil disobedience. Our view is that the impeachment trial and the mass movement calling for Estrada’s ouster or removal from office mutually reinforce each other.
It was not pure coincidence that the political forces in the broad tactical alliance calling for Estrada’s ouster are represented as complainants in the impeachment complaint. The leaders of the anti-Estrada movement, the complainants’ lawyers and the members of Congress who initially endorsed the impeachment complaint agreed on this and either tacitly or categorically accepted the validity of the position that Estrada’s removal from office by impeachment is a mere illusion without a strong people’s movement behind it.
Soon after other political forces of Philippine society started joining our people who have long been marching in the streets demanding Estrada’s resignation, the State started conditioning the minds of the public that the impeachment process is the only solution to the current economic and political crisis. Estrada’s propagandists would want us to believe that mass actions are illegal and are hurting the economy and should be stopped for the sake of the country. Nothing can be farther from the truth. And no line of reasoning can be more deceiving and more dangerous to us who are seeking the ouster or removal from office of a President than this formulation. And no matter how popular or appealing this line especially to most lawyers and the middle class, we should be able to expose it as a mere ploy to weaken the oust Estrada movement, to divide our ranks and to invoke it as a “legal” excuse to suppress the mass movement thru state violence.
My friends and colleagues, I have devoted a great part of my professional life and skills in the defense of the rights of the exploited and oppressed sectors of our society. My long experience in human rights lawyering taught me the important lesson that the system of justice in our country is heavily tilted in favor of the rich and the powerful. By the same token I have learned from my long experience as a people’s lawyer that the legal battles of the poor can be won only if we have a strong, united and militant movement supporting these battles in the legal fora.
It is true that lawyers, because of the nature of their profession, the kind of schooling and education that an elite-dominated system provides, is actually a “house of contradiction” or a “body of contradiction”. Being mostly members of the middle class, and being trained to work within the rules of the legal system, lawyers are most of the time used by the dominant interests in society to preserve the status quo. Lawyering is just like any other profession, the values, ethics, and political outlook of which are shaped by the dominant culture and the concrete conditions of our time. Quite a number of the members of the profession, in opting to serve the interests of the big compradors and landlords, have identified their interests with their clients. It is the lawyers that make possible, for example, the laundering of ill-gotten wealth, the legitimization of corruption, the justification of military repression.
But there are many lawyers who are able to transcend the kind of consciousness molded by colonial education and the kind of class interests instilled by the nature of their profession. How this awakening transpires, is an entire story unto itself, and probably unique for each lawyer. But there is probably one common denominator. The awakening occurs when the lawyer involves himself or herself with causes, cases, or issues that affect a large number of people. This occurs as the lawyer is exposed to the dire poverty that his or her countrymen wallow in and the injustice prevailing in society. This however will be put to naught if there is no effort involved at organizing the lawyers; thus the importance of alliance-building, uniting, and organizing the lawyers.
At this point allow me to share with you what we believe are some basic principles that should guide people’s lawyers:
First: People’s lawyers should involve themselves in causes, cases, and issues that fundamentally affect the lives of a large number of people, usually a sector of society or even the whole society itself.
Second: we must remain conscious that the issues have arisen out of a conflict of rights or interests and the exploitation and oppression of the numerous poor by the tiny privileged sector and/or government policy or program.
Third: Unlike the traditional lawyer, the people’s lawyer views and handles the legal issue and the case in the larger context of the nature and problems of society.
Fourth: having accepted the professional responsibility of handling the case imbued with public interest, the people’s lawyer initiates and assists in a process whereby the issue and the legal battle are utilized for organizing, and raising the social awareness, unity, and militance of the people and those who support their cause.
Fifth: the legal battle of the people’s lawyer is not confined to the courtroom. He or she employs creative forms of collective action, mobilizing and utilizing the people’s strength, unity, and militance, bringing the issues to the public, rallying support for the clients’ cause.
And finally, in the handling of a case, the people’s lawyer interacts with his or her clients in a mutually beneficial way whereby he or she learns or deepens his or her commitment to the clients’ struggle for the empowerment and betterment of their lives. The relationship is broadened from a mere professional one to a unity of understanding of the problems of society, the common goals for fundamental reforms and the role of the people’s struggles.
As people’s lawyers within a dominantly reactionary legal milieu, some think that our options are necessarily constricted, that the services, skills, training and experience we offer on the side of the people in contributing to their struggle for change are useless, and that our efforts are self-defeating, even frustrating. But for as long as we refuse to cease in using our legal profession and advocacy in pushing the legal parameters of an anti-people system, we continue to hold a unique role in the struggle of our people by helping in their efforts to effect fundamental changes and achieve a truly just, democratic and free society. In the process, we not only learn how to deal with an oppressive and exploitative system using its own rules and thereby expose it but also gain valuable insights and tools that can be used in the formation and development of an alternative pro-people legal system.
People’s lawyering will always be an imperative for as long as the great majority of our people remain poor and powerless and for as long as their interests and their struggle to improve their lives will always be opposed by the ruling class of big compradors and landlords and the governments which this tiny but powerful elite controls.
At this juncture of our history where human rights violations are worsening in various forms due to the intensification of exploitation and oppression of our people, the establishment of an international formation of progressive lawyers comes at a no better time.
One of the first things we have to do – let’s organize all the people’s lawyers.
We must arouse and mobilize lawyers in the struggle for human rights. And we must also develop the legitimacy, acceptability and value of lawyering for the people before the bar, the bench and the public.
We come together from countries where various forms of struggle for national and social liberation, self-determination, social justice and human rights exist. We are aware that existing laws and conventions on human rights are not responsive to the people’s demands and are inadequate, even illusory, to protect the rights of the people and even deny the underlying conflicts in society. Worse, we have to deal with various laws that directly curtail the rights of the people. We do not lose sight of the fact that the dominant interests in our particular countries dictate the concept of law and justice. We know that the forces of exploitation deprive the achievement of real justice for our people.
The IAPL therefore has a momentous opportunity to challenge the conventional notions of human rights and redefine them through practice and advocacy. We can take the lead in promoting the true and comprehensive concept of human rights from the perspective of the workers and the peasants, the poor and the masses. We must help in the promotion and assertion of individual and collective human rights in the civil, political, social, economic and cultural spheres, mindful of the fact that these can only be truly achieved in the context of total liberation from poverty, injustice and oppression. We must continue to act as partisan lawyers for the people’s cause and rights and to contribute to their democratic struggles. We should at the same time relate and even integrate with the mass movement.
There is no step-by-step formula for the breaking of our chains from rule of the exploiter and oppressor– no fixed and regimented way perhaps of people’s lawyering. But history worldwide has shown that when people move together in large numbers, show their rage in unison, struggle together against their oppressors, the beginning of the end has come. Walls crumble.
The greatest contribution of a people and a nation to the international struggle against exploitation and oppression is to break its own chains and free its own nation from the yoke of imperialist globalization.
 This historic Founding Congress of the International Association of People’s Lawyers is a coming-together of lawyers worldwide who desire to free their people and respective nations from the clutches of imperialism and to make this effort a worldwide struggle. This is the fruition of our common desire when some of us started to convene almost one full year ago to organize ourselves and put our skills, training, knowledge and expertise in the service of the people. It is also a fitting tribute to our brothers in the profession in different parts of the world who advance the cause of human rights at great risks and to those who were martyred because of their supreme dedication to their duty as people’s lawyers.
My other colleagues and I in the Philippines are one with our colleagues there in joining you today in solidarity and action.
Friends: I invite you to strengthen our unity and resolve, today, in this season of great awakening. We are seeing the full flowering of the people’s movements against oppressive and corrupt regimes supported by their imperialist masters.
Long live the international people’s lawyers’ organization against imperialism!
 The unfair dismissal and race discrimination declare could possibly be value near £10m within the occasion of its success. The worker on this case, Malcolm Perry, was born in Australia. He was a former international head of fastened revenue and credit score at DrK. Through the listening to he advised an employment tribunal that he turned more and more involved about being excluded from key choice-making after the financial institution determined to merge its company and funding banking companies in late 2005. Perry informed the tribunal that:
 “These days, all a claimant has to do is to determine details which might quantity to discrimination. The burden then transfers to the employer to show that discrimination had no half to play in his actions”.
 This might imply that on this case the declare of much less beneficial remedy on the bottom that he was not a German speaker can be harder to show as a direct discrimination declare. It’s also fascinating to notice that tribunals have held that English-talking Welsh individuals don’t represent their very own ethnic group. Nevertheless, one other tribunal discovered that the place an English job applicant was refused employment due to an incapability to talk Welsh, the declare for oblique discrimination succeeded as a result of fewer of the English ethnic group than these of the Welsh ethnic group might adjust to this requirement.
 Time to buy maternity insurance: As said above, you need to buy thai products coverage from before pregnancy. Term insurance is one year and each insurance company has its own specified time wait until the insurance effect, usually ranging from 9 to 12 months from the time the insured. Therefore, as soon as the intended to the baby, you should learn about the maternity insurance package to weigh on his son’s birth plan.
 Whether you choose to do it on a notebook or a digital spreadsheet or a fancy app, an orderly record of all the money you earn versus what you spend it on helps you monitor your expenses and give you some perspective on what you’re doing wrong.
 There are “Debt Consolidation Programs” they can introduce you to which allows you to settle your debts within a defined time frame, in an organized and secure way, stopping harassment from creditors and stabilizing your finances.
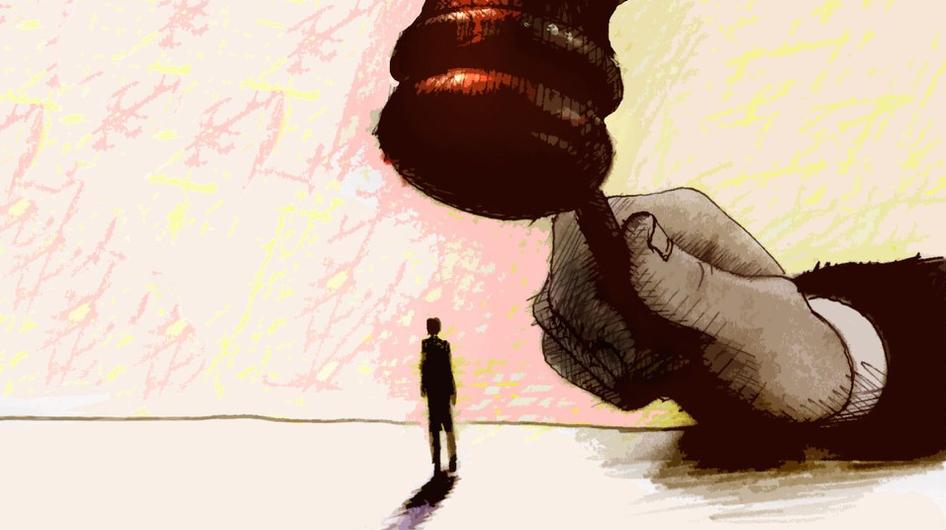
 Why should any court accede to the mere “choice” or “preference” of a person accused of a capital non-bailable heinous crime of plunder? He may as well pick the guards of his choice, the judges of his preference, or for that matter, he may choose or prefer not to be detained and tried at all for good measure!
 Alas, it all boils down to whether the powers that be in our society are more interested in administering justice equally upon rich or poor, ex-Presidents and ordinary masses alike, or in patching up their differences (“reconciliation” they call it) with its defeated but always threatening rivals. Like the proposed exile for Erap or “house arrest”, the administration’s support for Erap’s escape to the US is a part of “political settlement” that will leave the Filipino people shortchanged.